How to Clean a Garbage Disposal

Cleaning your garbage disposal is a small task that makes a huge difference. One of the most effective ways it can make a difference is by getting rid of any lingering odors that might be wafting through your home. When your sink starts to have some stink lines coming from it, that’s a sure sign you need to clean your garbage disposal.

Tools Needed

One of the great things about garbage disposals is that they can usually clean themselves. The only time you need to worry about cleaning it is when some smells start to linger. However, when it’s that time, you’re going to need a few tools. They are:

  • Rubber Gloves
  • Sink Stopper
  • Abrasive Sided Kitchen Sponge
  • Dish Soap
  • Ice
  • Rock Salt
  • Citrus Peels

How to Clean a Garbage Disposal, Part 1: Scrubbing Instructions

It’s fairly easy to clean your garbage disposal, despite this, there are a few important steps to take.

Step One: Turn off the Power

How to clean a garbage disposal, start by turning it off.

This is arguably the most important step when it’s time to clean a garbage disposal. Forgetting this step could lead to a hospital visit instead of a clean sink.

Some garbage disposals can be turned off by unplugging a power switch. For others, you may need to locate the breaker box and disconnect the power there.

Finally, give the on/off switch a little flip to make sure the power is truly off.

Step Two: Clean the Sink Baffle

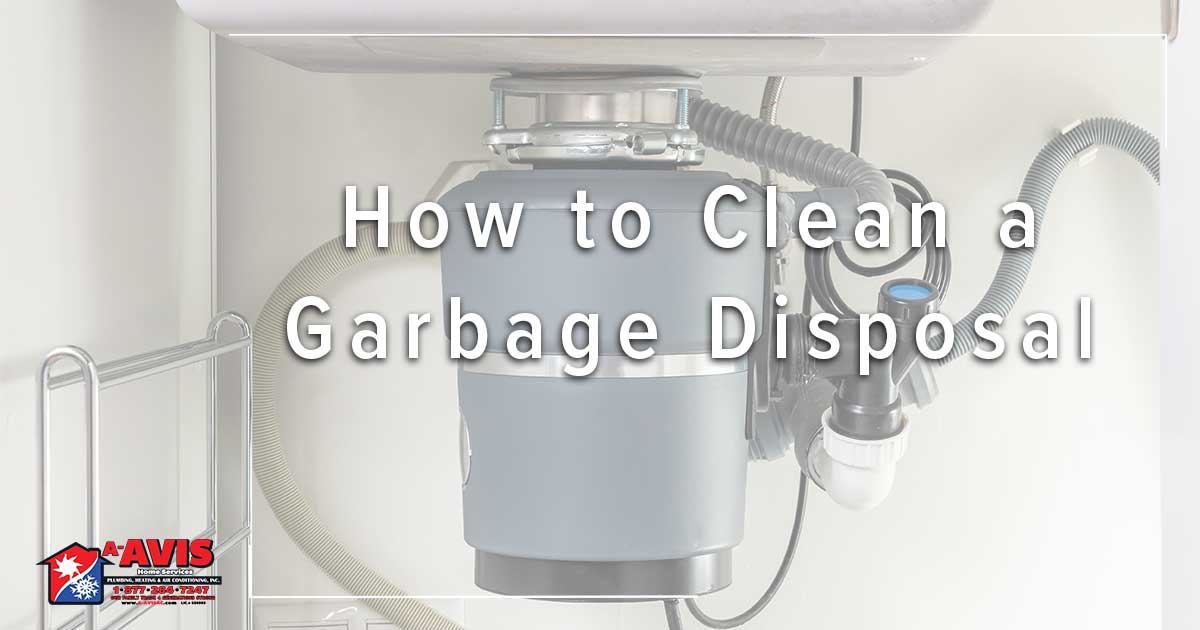
The rubber stopper at the lip of your disposal is called a sink baffle.

Don’t be baffled by the baffle. It’s the technical name for the rubber splash guard that sits in the mouth of your garbage disposal.

Run your sponge under some water to get it nice and wet. Now, soap up the abrasive side of the sponge and get to scrubbing.

Make sure to scrub between all the folds and creases as well as the underside. A lot of nasty buildup can hide there.

Don’t forget to routinely rinse the sponge.

Step Three: Scrub the Grinding Chamber

You’re not going to scrub the blades themselves; this is what the ice and salt are for. Instead, you’ll be scrubbing the walls of the grinding chamber.

Use the sponge and just start scrubbing from the top. Frequently rinse the sponge and scrub the walls until the sponge isn’t pulling up any disposal sediment.

Step Four: Add the Ice

For this step, simply fill the disposal with ice cubes.

You don’t need to fill it all the way to the top, but it never hurts to put in too much ice.

Step Five: Add the Salt and Run the Disposal

You can clean your garbage disposal with ice.

For this step, measure out a cup of salt. We recommend rock salt instead of traditional table salt.

After you add the salt, run some water. We recommend cold water. When water is too hot it can break up any oils and fats which could lead to a nasty backup.

Cold water is preferred because it keeps any fats and oils clumped together. This lets them travel through your plumbing system without adding to any backups.

How to Clean a Garbage Disposal, Part 2: Deodorizing

Now that you have a nice, clean garbage disposal, the last thing you need to do is deodorize it.

Our favorite way to naturally deodorize a garbage disposal is with citrus peels. Whether it’s orange, lemon, or lime, it doesn’t matter. Just choose the scent you like the most.

Keep in mind, these peels are not to clean your disposal, they just give a nice scent.

Simply grind some of the peels in your now clean disposal. This will eliminate any lingering scents and leave your sink smelling nice and fresh.

How to Deep Clean a Bathroom

Cleaning the bathroom doesn’t need to be a daunting task. For some homeowners, cleaning the bathroom is a breeze, for others, not so much. We all have our preferences for cleaning and organizing. Here is our favorite way to deep clean a bathroom.

Items Needed to Deep Clean a Bathroom

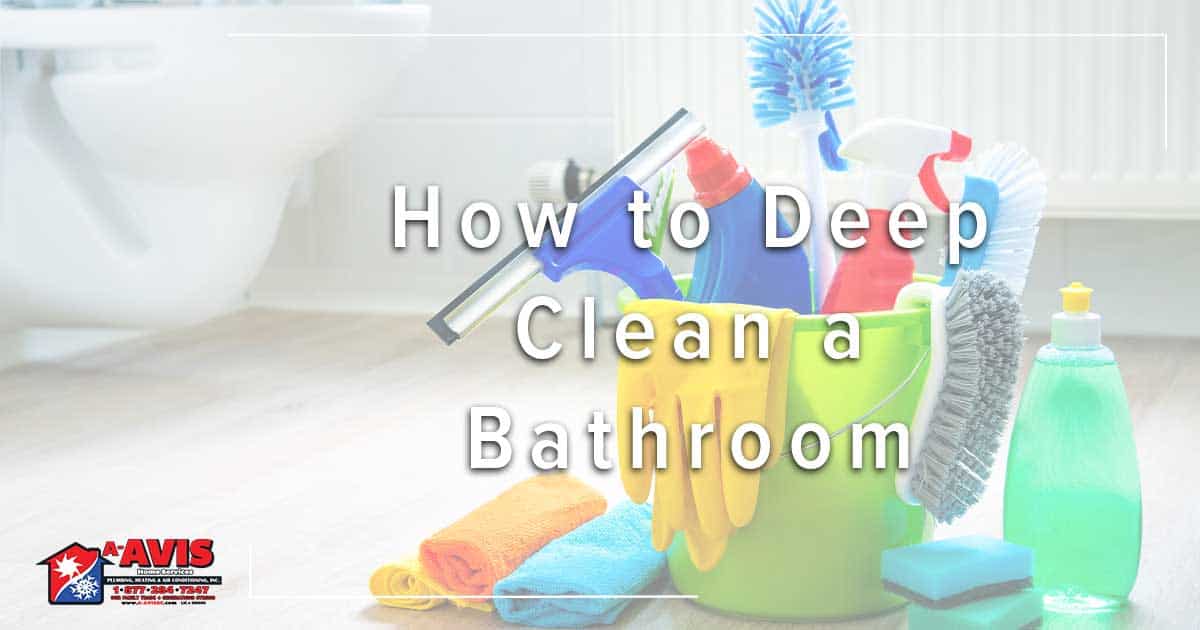
There are a few things you should never be without in your cleaning arsenal. We’re sure you have most of these things on hand, but in case you want to make sure, here are all the things we use when working in the bathroom, or any other room in the house.

  • Toilet Brush
  • Bowl Cleaner
  • Rubber Gloves
  • All-Purpose Cleaning Spray
  • Baking Soda or other Powder Cleaner
  • Glass Cleaner
  • Bleach
  • Clean Rags
  • Paper Towels
  • Vacuum
  • Wet mop or wet Swiffer

How to Deep Clean a Bathroom: Step by Step Instructions

De-Clutter Your Space

The first thing you should do is clear the way for cleaning! Start by taking out any rugs, bathmats, or towels. Put them aside to be washed.

Use this moment to check for anything that can be put away or organized into a drawer, cabinet, or other storage solution. The less stuff you have on the floor and countertops, the less you’ll have to dust.

Start Without Liquids

For many, the first instinct is to grab the cleaner and start spraying everything down. This will usually lead to you doubling your work.

Start by dusting everything, and when we say everything, we mean everything. When you start by dusting, you’re making it so you can clean the dust as you go, instead of chasing after visible dust particles in a clean bathroom.

Start Tall, End Small

When it comes to deep cleaning a bathroom, start dusting at the celling and work your way to the floor.

Our next bit of advice is to begin by dusting at the top of the bathroom. This means any molding you may have, the light fixtures, fan blades, and anything else that may be on the walls.

After you’ve knocked all the dust down, start to clear it from the countertops, fixtures, and anything that may be residing on said countertop.

The last part of your dusting task will be the baseboards and floor. Don’t forget to dust the outside of the toilet. When you’re done, vacuum or sweep everything off the floor.

Spray Down the Glass

Use a microfiber cloth when cleaning glass doors and windows.

Now it’s time to get out the spray cleaner. We always start with the glass cleaner.

Spritz down the mirror, light fixtures, and windows. Give them a wipe down with a microfiber cloth or an old t-shirt. Washcloths and even paper towels can leave residue on your sleek surfaces.

Time for the Fixtures


Don’t put away the glass cleaner yet, you’ll be using it to wipe down the fixtures on your sink, shower, and tub.

Use the same cloth you did on the glass and wipe each fixture until it’s nice and clean. Use a little extra spritz of glass cleaner if you need it. Swap the cloth for a small brush if you have any buildup or mineral deposits on your faucets.

Clean the Countertop

When it comes time to clean the countertop, don't forget to spray down the soap dispenser and other grooming products.

This task can be broken into two parts. First, clean the items on your countertop. Start by wiping down any soap dispensers or cups and move on to any grooming products you keep out. Place them aside while you clean the countertop.

For most countertops, you can use an all-purpose cleaner. The only surface that needs a specific cleaner is granite.

Clean the countertops before the sink or any other porcelain surface. Even though you dry dusted the counter, loose dust can still find its way into the sink, shower, toilet, or tub.

After everything is wiped down, put everything back on the counter.

Scrub the Porcelain

Don't forget to scrub down the tub.

Now is the time when you want to break out the baking soda or other scrubbing agent. One of our favorites is Bar Keepers Friend.

Run a non-abrasive scrubber, like a mesh sponge, under some water to get it a little wet and then scour the sink, toilet, and tub.

Start at the rims of all of these and work your way down. It’s the same principle as dusting. Starting high up will knock any debris or residue down so you clean as you go.

Once everything is scoured clean, give everything a good rinse to wash away any grime or soap residue.

Tackle the Toilet

The toilet might be one of the grossest places to clean, so that’s why we recommend cleaning from the outside in. Spray the outside of the toilet with your all-purpose cleaner. Wipe it all down. Don’t forget to clean behind the toilet. It’s an awkward space that many homeowners forget about.

Next, use your all-purpose cleaner on the seat and lid. Spray and wipe everything down.

Now it’s time for the bowl. Use a toilet specific cleaner and distribute it along the top of the bowl. Then put some baking soda or commercial cleaner into the toilet water. Use a toilet brush to scrub the inside of the bowl.

Flush the toilet to rinse everything and you’re done with the toilet!

Leave the Floors for Last

Finish your deep clean by mopping the floor.

Now that everything else is done, it’s time to clean the floors. Begin with a broom or vacuum. Sweep up any excess dust that may have fallen during the cleaning process.

Next, get that mop wet and clean until the tile looks nice and shiny. Wait for everything to dry, then put down a clean bathmat and hang some clean towels.

What’s Clogging My Drains?

Drain clogs are an annoyance, and unfortunately, they are one of the most common types of plumbing problems that can affect a house. You can deal with clogs in the toilets, the shower, the bathroom sink, the kitchen sink, and the floor drains. Whether you’ve got a slow drain or a full clog, it can make life unpleasant. It may even bringing daily activities to a halt.

The solution is to first try some simple methods to unclog the drain: a sink or toilet plunger, a drain auger, baking soda and vinegar. If those methods are ineffectual, the next step isn’t chemical drain cleaners, which are horrible for drains. If the clog won’t go away, it takes professional drain cleaning in Rialto, CA to effectively and safely eliminate it—and keep it from coming back.

What we want to talk about in this post is what is causing those drain clogs. Although almost anything could potentially stop up a drain if it can fit down it, there are several “usual suspects” to watch for.
Continue reading “What’s Clogging My Drains?”

Keep Your Plumbing in Good Shape With These Reminders

If you’re reading this in the spring of 2020, you’re probably staying home, right? More than you’ve ever done. And that means you may get around to handling a lot of household cleaning chores you didn’t have time for until now. But there are some important cautionary steps to take to make sure you’ve got plumbing that’s in good shape and you don’t run into any major emergencies.

You can trust A-Avis for plumbing in Chino, CA and throughout the Greater Riverside Area whenever you need assistance. Of course, we’d love for you to avoid those problems in the first place, and we’re certain you do as well. So here are some tips to remember about your plumbing to help avoid emergencies.
Continue reading “Keep Your Plumbing in Good Shape With These Reminders”