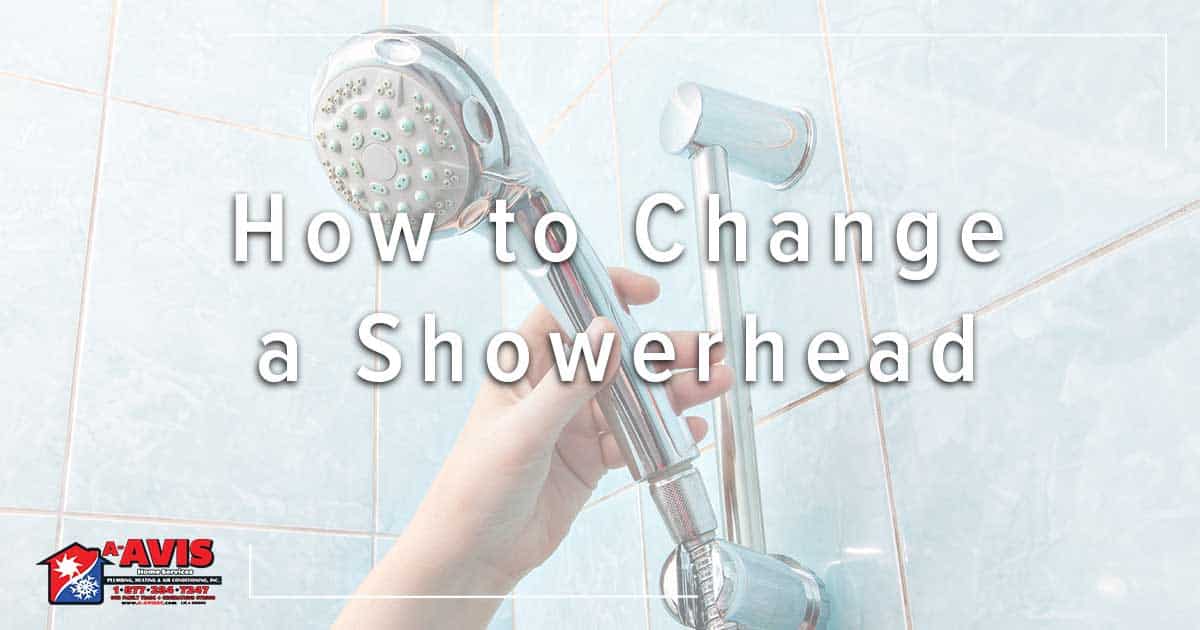
Want to make a meaningful change to your bathroom without a lot of heavy lifting? You can’t go wrong with the showerhead! It’s an easy thing to fix that can make a big impact on both the form and the function of your bathroom. Don’t feel intimidated, it’s a relatively task. Below are the step by step instructions for how to change a showerhead.
Materials
The first thing you’ll need is a small set of materials, they’re not too expensive and easy to find:
- New Showerhead
- Plumbers of Teflon Tape
- Old Toothbrush
- Adjustable Wrench
- Stepstool
- Washcloth
Step 1 – Remove the Existing Showerhead
Removing the showerhead depends on how long it’s been in your shower. An older showerhead may have some rust and corrosion. For these, we recommend using a wrench to unscrew it.
For newer showerheads, a simple hand screw is enough to get it off.
To start, turn the showerhead itself in a counterclockwise direction until it comes off. If necessary, hold the pipe that connects to the wall with a washcloth. You do not want this pipe to rotate or move.
Step 2 – Clean the Extension Pipe
There’s a big chance the last showerhead has a bunch of buildup underneath it. This is where you use the old toothbrush and washcloth.
Use the toothbrush to breakup any buildup on the inside of the pipe. Then, wipe the inside of the pipe with your washcloth.
Wet the toothbrush and scrub the threading on the outside of the pipe. Remove any existing Teflon tape and scrub underneath it.
Step 3 – Apply the Teflon Tape
Believe it or not, applying Teflon tape is something a lot of homeowners get wrong. Here are the basic steps to using Teflon tape:
- Make sure the tape lays flat. You don’t want it to be bunched at all. Start by laying the tape at the end of the pipe. Hold it in place with a finger or thumb.
- Wrap the tape counterclockwise around the pipe threads.
- Make sure to keep the tape tight and flat.
- From start to finish, you should wrap the tape around the pipe end 4 to 6 times.
- When you’re at the other end of the pipe, break the tape by pulling it apart. Smooth the loose end over the threads.
You are now ready to move on to step four, installing the new showerhead.
Step 4 – Install the New Showerhead
Before you do anything, read the instructions that come with the showerhead. Some heads do not require a wrench.
When you’re ready, screw the showerhead clockwise in place. When it’s fully secure, hand tighten it one quarter turn.
After it’s on there, tighten the showerhead one last time with your hand. Anything more could result in a cracked connecting nut.
Step 5 – Test and Inspect for Leaks
Next, step back and turn on the shower. It’s common to have a leak or two. Just take off the shower head, readjust the Teflon tape, put the showerhead back on and you should be good to go.
Sometimes, the showerhead can be too tight and that will cause leaks that can’t be fixed.
Now that you know how to change a showerhead, making a change to your bathroom should be easy.
Need Help Changing Your Showerhead? Call A-Avis
Feeling like this is a job left to the pros? Have any questions about your plumbing system? Call the experts at A-Avis!
We offer top of the line service, including our plumbing safety inspection that’s essentially a tune-up for your pipes. Dial the number at the top of the screen or click here to request an appointment online.

