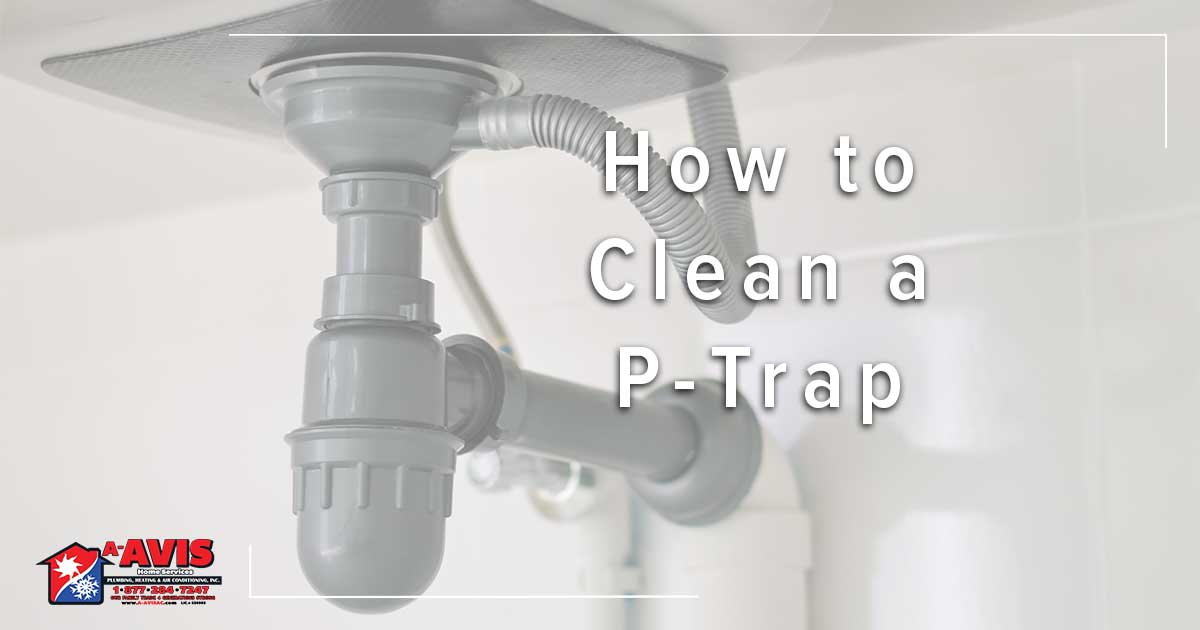
Small clogs are the universal leveler. No matter how big or small the home, no matter how many people are in the home, every homeowner must deal with a clogged drain at some point or another. While big clogs should be left to the professionals, smaller ones can be handled at home. Here is our surefire way to clean a P-trap.
What is a P-Trap?
A P-trap is a bend in a plumbing pipe that acts as an air filter for your plumbing system. Any basin that collects water—a sink, toilet, shower, or bathtub—has a P-trap underneath it.
This pipe is in a u-shape and the dip at the bottom of the U creates a gravity barrier and stops noxious, and sometimes dangerous, gasses from passing through.
A gravity barrier, sometimes called a “plumbing trap,” is shaped like a P or U. The sharp drop in the pipe stops any gasses from getting through. A small caveat to this is that the pipe needs to have a small amount of standing water in it.
When someone complains of a bad smell coming from a sink that’s not used too often, chances are it’s because the P-trap dried up.
However, because so much waste goes through the P-trap, things can get stuck. This usually means there is some buildup in the bottom of the trap that’s not allowing for anything to pass through.
Step by Step Instructions: How to Clean a P-Trap
Materials Needed:
- Bucket – To catch any water, loose materials, or drain debris
- Wire Brush – To scrub out the pipes
- Pliers or Adjustable Wrench – To remove the P-trap
Step 1: Turn off the Water Faucet
The first step of this process is to make sure the water faucet is turned off. Despite this step, it’s important to keep in mind that water will be present in the p-trap and this process will be somewhat wet.
This pipe always holds a small amount of water in it, so no matter how long you have the water shut off for, there will be something to drain in the pipe.
After you turn off the water faucet, make sure to put a bucket under the pipe. This will catch any loose water and debris in the trap.
Step 2: Remove the P-Trap
For this next step, you may need either pliers or a wrench. Start by unfastening the nuts that hold the piece of pipe in place.
In most cases, you can dislodge the nuts with your hands. Sometimes, they’re on a little tight and this is when you would use the pliers or wrench.
Keep in mind that water will start to fall out as you loosen the nuts. Make sure all the debris is aligned with the bucket.
When you get the trap loose, dump all excess water into the bucket and move on to step 3.
Step 3: Clean the P-Trap
Cleaning the P-trap is a pretty easy task. All you need is a flexible wire brush; similar to the one used for bottles.
Wet the wire brush and push it through the pipe until there is no more debris in the pipe or sticking to the brush. This should be enough to clean out the entire pipe.
You’ll still want to conduct a visual inspection of the P-trap to make sure everything is clean and clear.
Step 4: Put Everything Back Together
After everything is cleaned out, simply put the P-trap back on the way it came off. Make sure the long side of the pipe faces the sink drain.
Use your hands to screw the nuts back into place. Remember to pull out the pliers or wrench again if it needs some extra force to get back into place.
Don’t remove the bucket just yet. You need to make sure everything is working properly.
Test the P-trap by running water in the sink for 15 seconds. Does the water drain without leaking? Great, you can remove the bucket and clean up the area.
Does the pipe leak? You need to either tighten the nuts a little more or use Teflon tape to create a seal between the pipe and nuts.
How Often Should I Clean my P-Trap?
At Service Champions, we recommend cleaning your P-trap four times per year. Or, once every three months.
Additionally, it’s advised to clean your sink and drain every few months as well. A little bit of prevention can help keep the plumber away.
Need something more than a small P-trap cleaning? The plumbing experts at Service Champions can help.


